A practical guide to customizing your site layout with the SWELL theme.
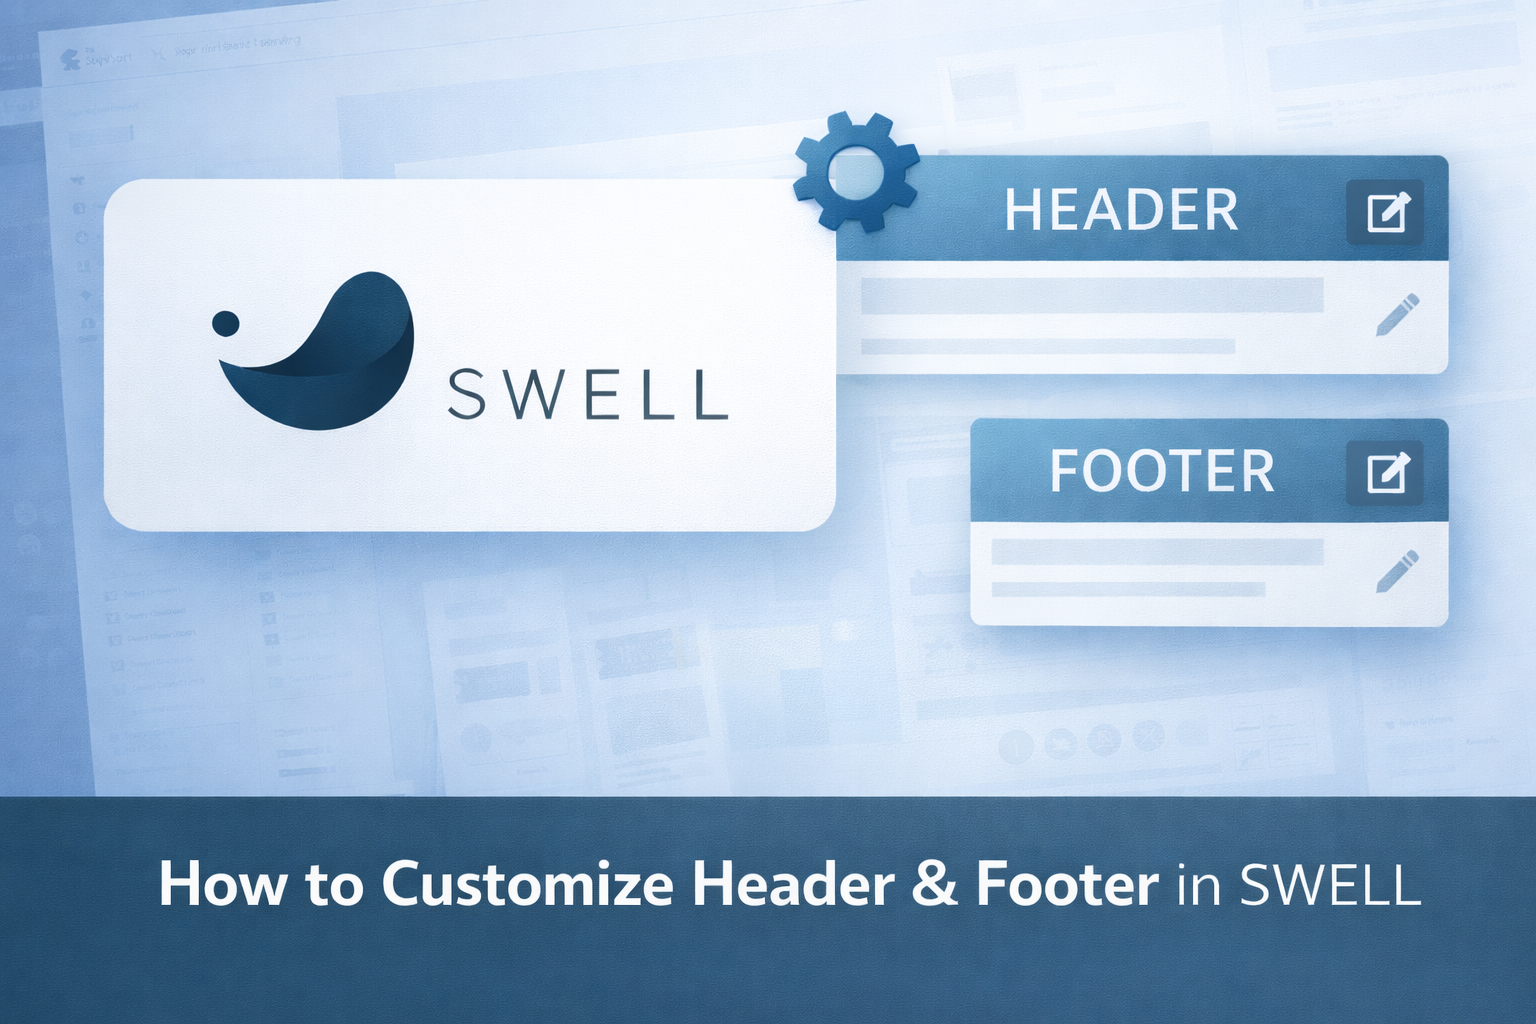
🌍 How to Customize Header & Footer in SWELL
A practical guide to customizing your site layout with the SWELL theme.
The header and footer are two of the most important parts of any WordPress website.
They affect navigation, branding, usability, and overall user experience.
SWELL offers powerful and flexible header & footer customization options, even though the settings interface is in Japanese.
In this guide, you’ll learn how to customize the header and footer in SWELL, step by step — in a way that’s easy to understand for international users.
Where to Find Header & Footer Settings in SWELL
All main layout settings are located in the WordPress Customizer.
- 📍 Navigation path:
-
Appearance → Customize
From here, you’ll find SWELL-specific settings (displayed in Japanese).
- 💡 Tip:
-
Use your browser’s translation feature (e.g. Chrome → “Translate to English”) to follow along easily.
How to Customize the Header in SWELL
1. Header Layout Settings
Inside the Customizer, look for SWELL’s header-related options.
- You can control:
-
- Header layout style
- Logo position
- Menu alignment
- Header height
- Sticky (fixed) header behavior
-
These options allow you to create a clean and professional navigation area.
2. Adding a Logo
- To set your site logo:
-
- Go to Customize → Site Identity
- Upload your logo image
- Adjust logo size if needed
-
A clear logo helps build trust and brand recognition.
3. Navigation Menu Setup
Menus are managed separately from the Customizer.
- Go to Appearance → Menus
- Create a new menu
- Add pages (Home, Blog, Reviews, Contact, etc.)
- Assign the menu to the Header Menu location
SWELL supports clean, responsive menus that work well on desktop and mobile.
4. Sticky Header (Optional)
SWELL allows you to enable a sticky header, which stays visible while scrolling.
- Benefits:
-
- Better navigation
- Improved usability
- Great for content-heavy sites
-
Enable it from the header settings in the Customizer.
How to Customize the Footer in SWELL
1. Footer Layout and Widgets
SWELL supports footer widget areas.
- You can choose:
-
- Number of footer columns
- Widget placement
- Spacing and alignment
-
This is useful for adding navigation links, contact info, or social icons.
2. Footer Copyright Text
You can customize the footer copyright text:
- Your brand name
- Year
- Custom message
This small detail adds professionalism to your site.
3. Adding Footer Menus
Footer menus are great for:
- Privacy Policy
- Terms of Service
- About page
- Contact page
Create a menu and assign it to the Footer Menu location.
Mobile Optimization for Header & Footer
SWELL automatically optimizes header and footer layouts for mobile devices.
- However, you should always:
-
- Preview your site on mobile
- Check menu behavior
- Ensure buttons are easy to tap
-
Mobile usability is essential for SEO and user experience.
Recommended Header & Footer Setup for Beginners
Here’s a simple and effective setup:
- ✅ Header
-
- Logo on the left
- Menu on the right
- Sticky header enabled
- ✅ Footer
-
- 2–3 columns
- Footer menu (Privacy / Contact)
- Copyright text
This structure works well for blogs, reviews, and affiliate sites.
Common Mistakes to Avoid
- Overcrowding the header with too many links
- Using too many colors
- Ignoring mobile preview
- Forgetting footer navigation
Keep your layout clean and simple — this is where SWELL shines.
Final Thoughts
Customizing the header and footer in SWELL is straightforward once you understand where the settings are.
Despite the Japanese interface, SWELL’s flexibility and design quality make it easy to build a professional layout that works beautifully on both desktop and mobile.
If you want a clean, fast, and elegant WordPress site, SWELL gives you everything you need.
Click or tap the image to get SWELL from the official website.
![]()


コメント