Step-by-step instructions for installing and configuring SWELL.
🌍 How to Set Up SWELL (Beginner Guide)
Step-by-step instructions for installing and configuring SWELL.
Introduction
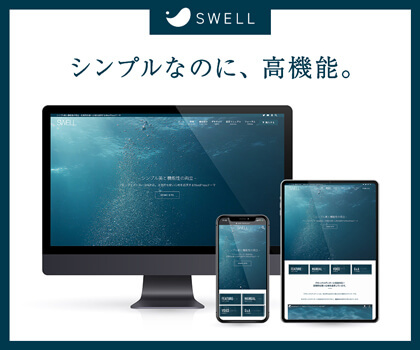
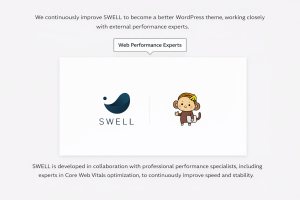
SWELL is a premium WordPress theme developed in Japan, known for its speed, clean design, and ease of use.
If you’re new to SWELL, this beginner guide will walk you through
everything you need to know to get started.
By the end of this guide, you’ll have SWELL installed, activated, and properly configured — even if you don’t read Japanese.
Step 1: Purchase and Download SWELL
- Visit the official SWELL website.
- Purchase the theme using your credit card (international cards are accepted).
- After purchase, download the SWELL theme ZIP file.
【👉 Please download the SWELL parent theme first, followed by the SWELL child theme. Then, activate the SWELL child theme.】
💡 Tip: Save the ZIP file without unzipping it. WordPress requires the original ZIP file.
Step 2: Install SWELL on WordPress
- Log in to your WordPress dashboard.
- Go to Appearance → Themes
- Click Add New → Upload Theme
- Upload the SWELL ZIP file
- Click Install Now
- After installation, click Activate
Your website is now using SWELL 🎉
Step 3: Recommended Plugins for SWELL (Best Add-ons)
Recommended Plugins for SWELL
&Plugins You DON’T Need with SWELL

Step 4: Import a Demo Site (Optional but Recommended)
To get a professional-looking site quickly:
- Go to Appearance → Customize
- Find the Demo Site Import option
- Choose DEMO 02 (recommended for blogs & reviews)
- Import demo content
This gives you a ready-made layout that you can customize.
Step 5: Basic SWELL Theme Settings
Even if the interface is in Japanese, these are the key areas to check:
- ① Layout Settings
-
- Choose sidebar or full-width layout
- Set content width
- ② Header & Footer
-
- Customize logo position
- Enable sticky header if desired
- Set footer widgets
- ③ Colors & Typography
-
- Set brand colors
- Adjust font size and spacing
💡 Tip: Use browser translation (Chrome → Translate to English) to understand the settings easily.
Step 6: Recommended WordPress Settings
Before creating content, update these WordPress basics:
- Permalinks
-
- Go to Settings → Permalinks
- Select Post name
- Save changes
- Site Language
-
- Go to Settings → General
- Set Site Language → English
(This affects WordPress core, not SWELL’s Japanese UI.)
Step 7: Create Your First Pages
Start with these essential pages:
- Home
- About
- Blog
- Contact
SWELL’s Gutenberg blocks make it easy to design pages visually.
Step 8: Use SWELL Blocks to Create Content
SWELL extends the WordPress block editor with powerful features:
- Buttons
- Call-to-action boxes
- FAQ blocks
- Highlight boxes
You can build beautiful layouts without coding.
Step 9: Translate SWELL into English (Optional)
If Japanese text feels difficult:
- Use browser translation (quickest)
- Use TranslatePress for a permanent English environment
- Use Loco Translate for advanced control
👉 See our full guide:
How to Translate SWELL into English
Step 10: Final Checks Before Publishing
Before launching your site:
- Check mobile responsiveness
- Preview pages on desktop and smartphone
- Test page speed
- Confirm menus and links work correctly
SWELL is optimized for performance, so you’re already ahead.
Conclusion
Setting up SWELL is straightforward, even for beginners.
With its clean design, fast performance, and intuitive blocks, SWELL makes building a professional WordPress site easy.
Once you complete these steps, you’ll be ready to start blogging, creating content, and growing your website with confidence.
Click or tap the image to get SWELL from the official website.
![]()
コメント